Golf Simulator Installation: The Ultimate Guide to Bringing the Course Indoors
Golf Simulator Installation – Ever dreamed of playing a round at Augusta National or St. Andrews without leaving your home? With a golf simulator installation, that dream is closer than you think! Whether you’re a seasoned golfer looking to practice year-round or a casual player wanting fun indoor entertainment, a golf simulator setup can transform your space into a virtual course.
But where do you start? What equipment do you need? And how do you ensure a smooth installation? Don’t worry—we’ve got you covered. This guide will walk you through everything from choosing the right simulator to setting it up like a pro.

Why Install a Golf Simulator?
- Year-Round Golfing, No Matter the Weather
Rain, snow, or scorching heat—none of it matters when you have a home golf simulator. You can practice your swing anytime, regardless of the season. - Improve Your Game with Instant Feedback
Modern golf launch monitors track everything from swing speed to ball spin, helping you fine-tune your technique faster than traditional range sessions. - Entertainment for Friends & Family
Host virtual tournaments, play famous courses, or just have fun with friends—golf simulators aren’t just for practice; they’re a blast for social gatherings too! - Save Time & Money
No more driving to the course or paying for expensive range balls. A residential golf simulator pays for itself over time.


Types of Golf Simulators
- Photometric vs. Radar-Based Systems
- Photometric (Camera-Based): Uses high-speed cameras (like Foresight Sports GC3 or Uneekor EYE XO) to analyze ball and club data.
- Radar-Based (Doppler): Tracks ball flight using radar tech (e.g., TrackMan or FlightScope). Best for outdoor use but works indoors with enough space.
- Entry-Level vs. High-End Simulators
- Budget-Friendly: OptiShot 2 or SkyTrak—great for beginners.
- Pro-Level: Full Swing KIT or HD Golf—used by PGA Tour players.
- Portable vs. Permanent Setups
- Portable: Easy to move (great for garages or multi-use spaces).
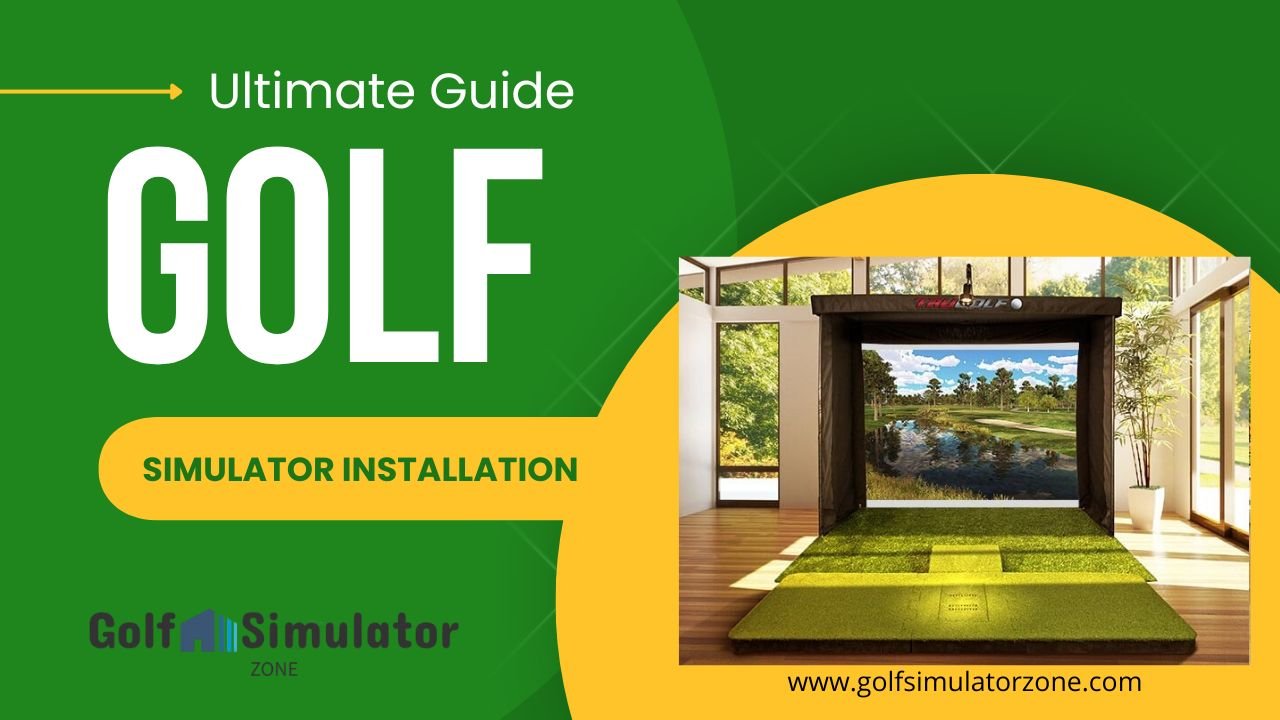
- Permanent: Built-in enclosures with impact screens—ideal for dedicated golf rooms.
Essential Equipment for Golf Simulator Installation
- Launch Monitor
The brain of your setup. Options include:- SkyTrak+ (budget-friendly)
- Foresight GCQuad (pro accuracy)
- Garmin Approach R10 (best for portability)
- Hitting Mat
A quality golf hitting mat protects your floors and gives a realistic fairway feel. Look for thick, durable options like FiberBuilt or Country Club Elite. - Impact Screen & Enclosure
- Impact Screen: Must withstand repeated shots (check Carl’s Place or Par2Pro).
- Enclosure: Prevents stray balls—choose between netting or rigid frames.
- Projector
A short-throw projector (like BenQ TH671ST) ensures a bright, clear image even in well-lit rooms. - Computer/Software
- Minimum Specs: i5 processor, 8GB RAM, dedicated GPU.
- Top Software: E6 Connect, The Golf Club 2019, or GSPro.


Choosing the Right Space for Installation
- Room Dimensions
- Minimum Space: 10’ (W) x 10’ (L) x 9’ (H) for basic setups.
- Ideal Space: 12’ (W) x 16’ (L) x 10’ (H) for full swings.
- Ceiling Height
- At least 9 feet to avoid club interference.
- 10+ feet recommended for taller players.
- Lighting & Flooring
- Lighting: Avoid glare—use indirect LED lights.
- Flooring: Opt for padded turf or rubber flooring for safety.

Step-by-Step Golf Simulator Installation Guide
- Measure & Clear Your Space
Remove obstacles and ensure enough room for swinging comfortably. - Assemble the Enclosure
Follow manufacturer instructions—most use metal frames with netting or screen fabric. - Mount the Impact Screen
- Tension-Based: Keeps the screen tight for better image quality.
- Bungee System: Allows some give to absorb ball impact.
- Set Up the Projector
- Ceiling Mount: Best for permanent setups.
- Short-Throw Position: Reduces shadows.
- Install the Launch Monitor
Place it according to specs (some need precise alignment). - Connect Software & Calibrate
Run a few test shots to fine-tune settings.


Common Golf Simulator Mistakes to Avoid
- Skimping on Space
Cramped rooms lead to bad swings (or broken TVs!). - Poor Lighting Setup
Glare ruins the simulation experience. - Wrong Mat Choice
Too-thin mats can cause joint pain over time. - Ignoring Ventilation
Swinging in a stuffy room gets old fast.
Maintenance Tips for Longevity
- Clean the screen regularly to prevent dust buildup.
- Check projector bulbs for brightness degradation.
- Update software for new courses and features.
Conclusion
A golf simulator installation is a game-changer for any golfer. Whether you’re looking to improve your skills, play virtual courses, or just have fun, the right setup can turn your garage or basement into a golf paradise. By choosing the right equipment, optimizing your space, and avoiding common mistakes, you’ll be teeing off indoors in no time!
FAQs
- How much does a golf simulator cost?
Prices range from 500 to 70,000+ for pro-level systems. Mid-range options (3,000–15,000) offer great balance. - Can I install a golf simulator in a small room?
Yes, but minimum dimensions should be 10 ’ W x 10 L x 9’H for comfortable play. - Do I need a high-speed internet connection?
Only for online multiplayer or software updates—offline modes work without Wi-Fi. - What’s the best golf simulator under $5,000?
SkyTrak + TGC 2019 is a top pick for accuracy and affordability. - Can I use a golf simulator for left- and right-handed players?
Yes! Most systems support both-handed play—just reposition the launch monitor.
You Might Also Like
- Best Home Golf Simulators 2025
- Indoor Golf Simulator Technology
- Golf Launch Monitor with Course Simulation
- Garmin R50 vs Bushnell Launch Pro
- Golf Launch Monitors Comparison


