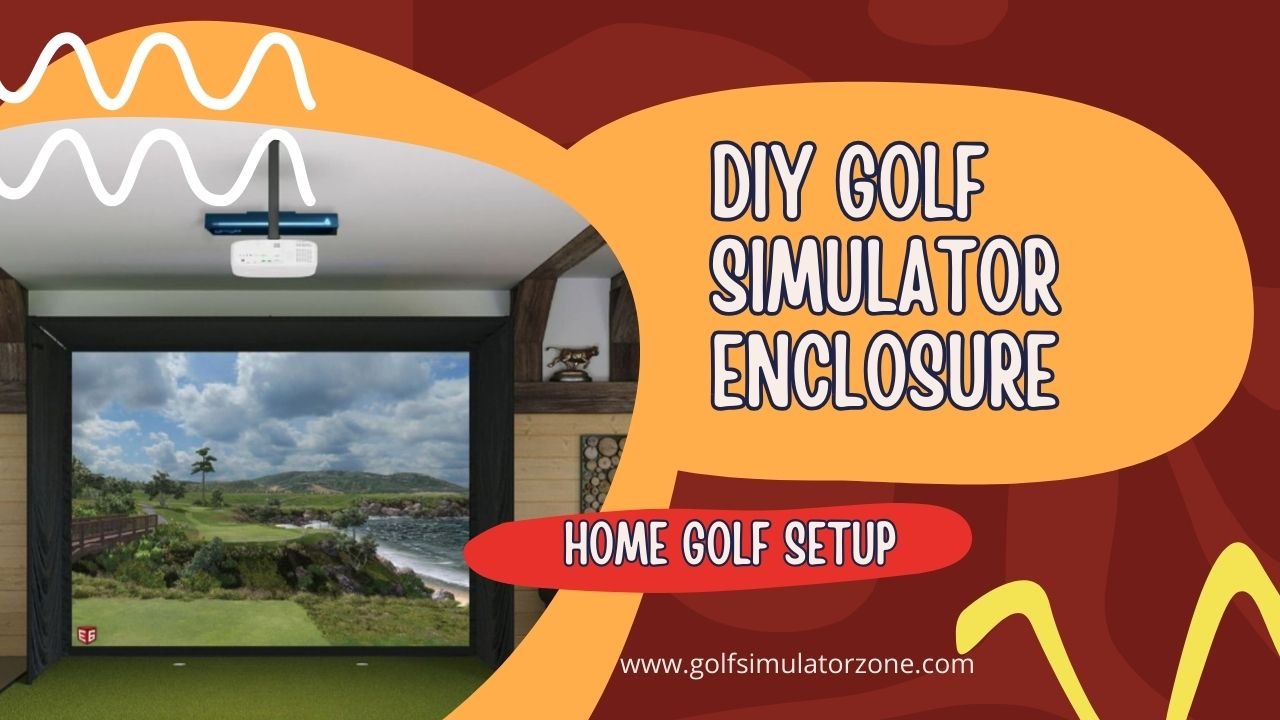
DIY Golf Simulator Enclosure: Build Your Ultimate Home Golf Setup
DIY Golf Simulator Enclosure – Ever dreamed of practicing your golf swing anytime, rain or shine? A DIY golf simulator enclosure can turn your garage, basement, or spare room into a personal golf haven. No more expensive club memberships or unpredictable weather—just pure, uninterrupted golfing bliss.
But how do you build one without breaking the bank? What materials do you need? And most importantly, how do you make it feel like the real deal? Buckle up, because we’re diving deep into everything you need to know to create the perfect home golf simulator setup.

Why Build a DIY Golf Simulator Enclosure?
Before we jump into the nuts and bolts, let’s talk about why you should consider building your own golf simulator enclosure.
- Cost-Effective: Pre-built enclosures can cost thousands. A DIY version? Much cheaper.
- Customizable: Want a 10-foot screen? No problem. Need extra side netting? You got it.
- Space-Saving: Perfect for garages, basements, or even living rooms (if your partner allows it!).
- Year-Round Practice: Snowstorm? No worries—you’re still working on that perfect swing.
Essential Components of a Golf Simulator Enclosure
To build a functional golf simulator setup, you’ll need a few key components:
- Impact Screen
This is where your shots will land. You need a high-quality, durable screen that can handle repeated strikes without tearing. - Frame Structure
A sturdy frame keeps everything in place. Common materials include PVC pipes, EMT conduit, or even wood. - Projector & Launch Monitor
The projector displays your virtual course, while the launch monitor (like SkyTrak+ or Mevo+) tracks your shots. - Side & Ceiling Netting
Missed shots happen. Protect your walls (and windows!) with side and ceiling netting. - Turf Mat
A realistic hitting mat gives you that fairway feel and protects your floors. - Optional Extras
- Soundproofing (for late-night sessions)
- Lighting (to reduce glare)
- Gaming PC (for ultra-realistic simulations)
Step-by-Step Guide to Building Your DIY Golf Simulator Enclosure
- Step 1: Choose the Right Space
First things first—where will your golf simulator setup live? Measure the area to ensure enough room for:- Full swing clearance (at least 10 ft. width, 10 ft. height, 15 ft. depth)
- Projector distance
- Seating (for when you’re analyzing your swing)
- Step 2: Select Your Impact Screen
You have two options:- Pre-Made Screens: Ready to hang, but pricier.
- DIY Screens: Buy heavy-duty fabric (like archery backstop material) and reinforce the edges.
- Step 3: Build the Frame
- Option 1: PVC Pipe Frame (Budget-Friendly)
- Lightweight & easy to assemble
- Best for temporary setups
- Option 2: EMT Conduit Frame (More Durable)
- Stronger than PVC
- Requires metal connectors
- Option 3: Wooden Frame (Permanent Solution)
- Most stable
- Requires carpentry skills
- Option 1: PVC Pipe Frame (Budget-Friendly)
- Step 4: Install Side & Ceiling Netting
Even pros mishit shots. Use golf netting or tarp material to prevent wayward balls from causing damage. - Step 5: Set Up the Projector & Launch Monitor
- Projector Placement: Ceiling-mounted or short-throw for best results.
- Launch Monitor: Follow the manufacturer’s setup instructions for accuracy.
- Step 6: Add Finishing Touches
- Lay down golf turf for a realistic feel.
- Install LED lights to reduce shadows.
- Add a small fan (golf swings can get sweaty!).

Best Materials for a DIY Golf Simulator Enclosure
- Impact Screen Material
- Polyester Blend: Durable and wrinkle-resistant.
- Spandex: Stretches for better ball rebound.
- Frame Materials
- PVC Pipes: Cheap but less sturdy.
- EMT Conduit: Stronger, rust-resistant.
- Wood: Best for permanent setups.
- Netting Options
- Nylon Golf Nets: Affordable and effective.
- Heavy-Duty Tarps: Extra protection for walls.
Common Mistakes to Avoid
- Skimping on Screen Quality
A cheap screen will wear out fast—invest in durability. - Ignoring Room Lighting
Too much glare? Your projector image will suffer. - Forgetting About Sound
Golf balls hitting nets can be loud—consider foam padding. - Poor Ventilation
Swinging in a stuffy room gets old fast. Add a fan or open a window.
Cost Breakdown: DIY vs. Pre-Built Enclosures
| Component | DIY Cost | Pre-Built Cost |
|---|---|---|
| Impact Screen | 300 | 1,500 |
| Frame | 200 | 800 |
| Netting | 150 | 500 |
| Projector | 1,000 | Included in some kits |
| Total | 1,650 | 5,000+ |
As you can see, DIY saves you a ton!
Maintenance Tips for Longevity
- Clean the Screen: Dust affects visibility.
- Check Netting for Wear: Replace frayed sections.
- Tighten Frame Joints: Vibrations can loosen connections over time.
Conclusion
Building a DIY golf simulator enclosure is a rewarding project that saves money and gives you a personalized practice space. With the right materials, a little elbow grease, and some patience, you’ll have a pro-level setup without the pro-level price tag.
So, what are you waiting for? Grab your tools, pick your spot, and start swinging!
FAQs
- How much room do I need for a golf simulator?
At least 10 ft. wide, 10 ft. tall, and 15 ft. deep for a comfortable swing. - Can I use a TV instead of a projector?
Yes, but a projector gives a more immersive experience. - What’s the best budget launch monitor?
The SkyTrak or FlightScope Mevo+ offers great value. - How do I stop my golf simulator from being too loud?
Add acoustic foam or heavy curtains to dampen sound. - Can I build a portable golf simulator?
Yes! Use a PVC frame and a retractable screen for easy storage.
Now, go build that dream golf simulator! ⛳🔥


